I am posting if for ONE AWESOME CUSTOMER that came through my line last night. I can’t remember your name but I hope you find this post and can create an amazing chili in your Instant Pot!
4T chili powder 2T cumin powder 1t onion powder 1t red pepper flakes 1t paprika 1t oregano 2t salt 3t black pepper
Blend it all with a fork in a bowl. Store it in a regular jar with a good lid.
This will make a LOT of chili spice!
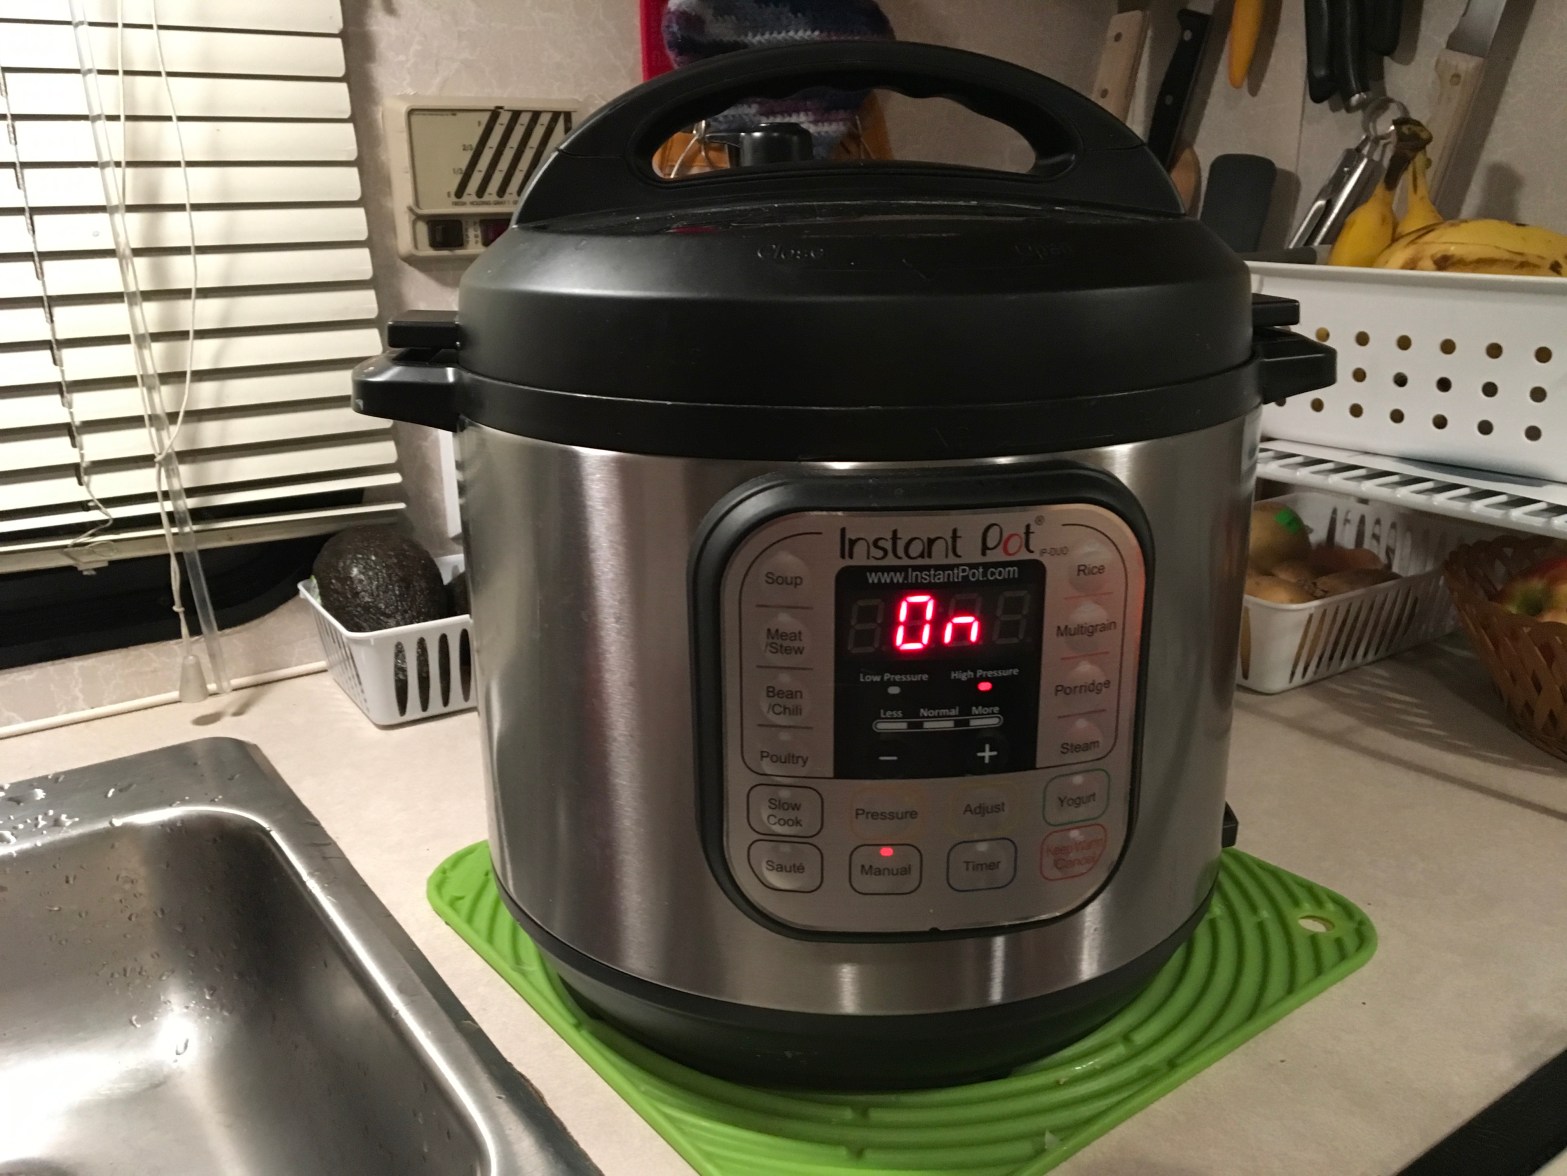
INSTANT POT CHILI
1 drizzle (to cover ¼ the base of the IP) EVOO 1 onion, chopped 3 garlic cloves, chopped 2 c shredded and chopped kale 2 carrots, shredded in the food processor (makes 1 cup of shredded carrots) 1 russet potato, cubed to dice size
1 can (14 oz) stewed tomato 2T of above spice combo 2 cans (14oz) drained kidney beans 1 can (14oz) drained pinto beans 1 jar (24oz) of Rao’s Marinara sauce
PREPARE EVERYTHING IN ADVANCE!
Drain beans IP on SAUTE, add EVOO Add onions, sauté a minute or two Add garlic, stir and sauté another minute Add carrot and blend/stir with a spoon Add kale, blend with a spoon
All of that should be tossed and combined Add chopped potato Add entire can stewed tomato (juice and all) Stir in the 2T of chili spice blend
Add beans Stir
Add Rao’s marinara sauce Fill the glass jar you just emptied with water, put the lid on it and shake it to get all remaining sauce then add to IP
Place lid on IP Put pressure valve to CLOSED position Manual settings: HIGH Time: 25 minutes
Allow pressure to release on its own. If you are in a hurry, you can release it (pull the valve toward you and stand clear). Make sure your IP valve release area has space. I often place a dish towel over it to try to reduce the spray. Open when the valve indicator has dropped (to the right of the valve itself).
I made home-made corn bread from scratch with my chili and it was deeeelish!
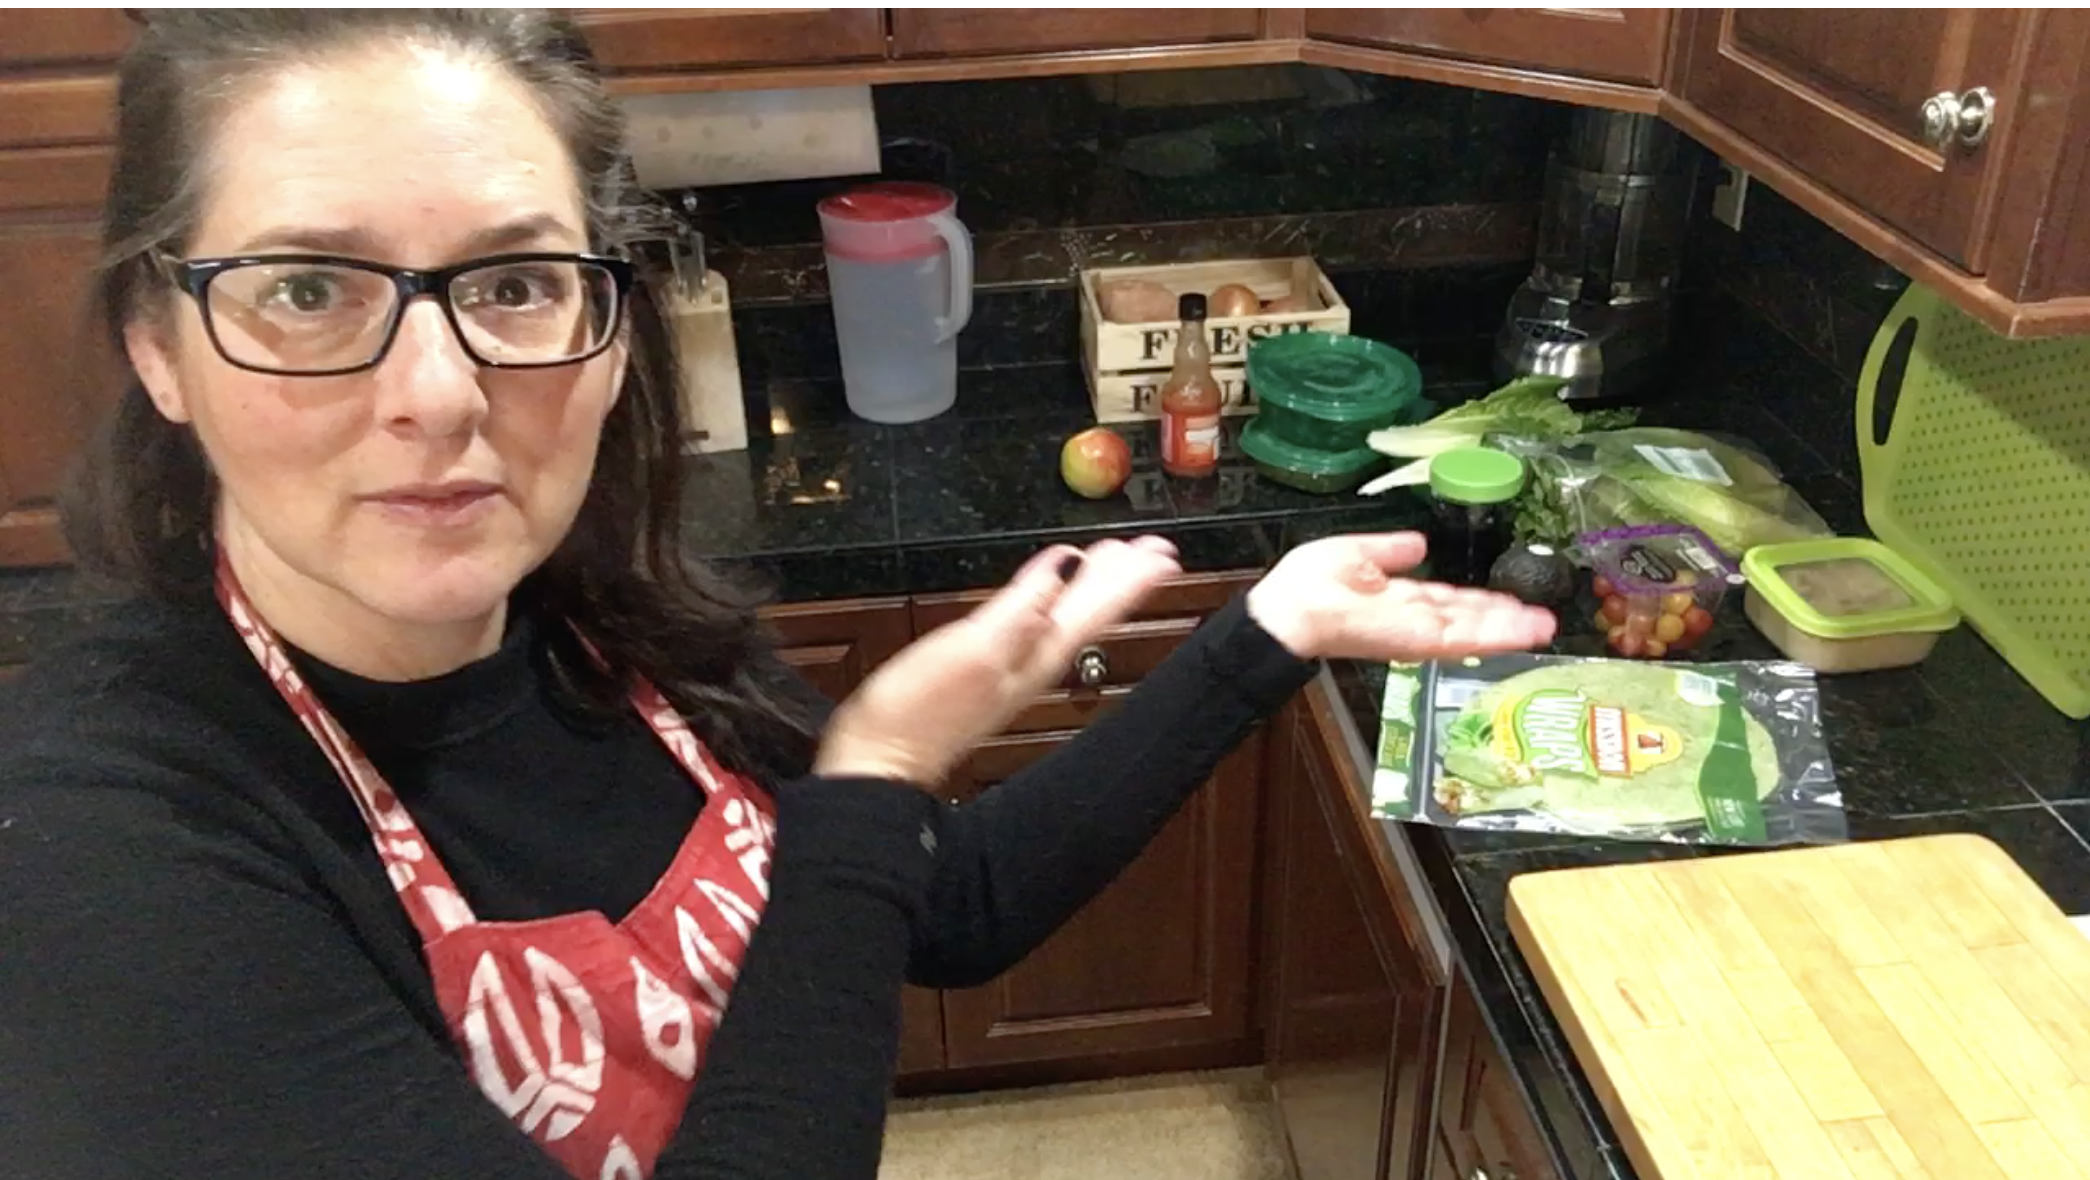
I finally put together a video of me making a vegan wrap. Who knows what’s next!
This is all because of two very influential people in my life. Randy and Bogie.
Bogie is keeps himself on the “cutting edge” of marketing and built his business Art Of Saving from scratch. He is seriously brilliant and always interested/investigating things to see how they work (or don’t work!).
I’ve known him as long as I have known Randy, minus a few weeks I think.
Seems I’ve gotten off task!
Here’s my video and my recipe on how to make a delicious and healthy vegan wrap.
RECIPE
Ingredients
Tin foil (optional: for the wrap-to-go) Mission veggie wrap Randy’s hummus Quinoa Frank’s Original Hot Sauce Black Olives Romaine Lettuce Kale, chopped up Carrots, shredded Small tomatos, chopped in half or thirds. ¼ avocado
The ingredients are built to enjoy a bit of each of them in every bite.
I warm my wrap a tiny bit to make it more pliable.
Directions (as they unfold in my video)
Place a warmed wrap on foil.
Spread hummus across it.
Place your romaine lettuce with the top of the leaf toward the top of your wrap.
Kale is then placed on top of the lettuce wrap, then carrot shreddings.
Splash Frank’s Hot Sauce all over it!
Add the tomatoes down one side of the wrap.
Place black olives next to the tomatoes.
Add your avocado from the top to the bottom.
Time to fold it up.
Bottom up first then side to side. Use the foil to help keep it in place.
WELL. We made it. Survived the entire year scraping by.
I wrote a lot of actual LETTERS last year. I took a photo of each envelope to make sure I replied to all of the letters I received plus I wanted to look back on all of the colorful envelopes I made.
Randy has been pushing me to keep creating too. It’s hard and discouraging.
Seems like people aren’t interested in writing letters anymore. It’s a ‘digital age’ and the younger folks are going to miss out.
I cannot imagine this. I’ll be writing letters to people I love and care about until I die whether or not I get a response. I always hope to of course.
Luckily 2018 had a friend that kept me from losing my mind working at a place that was paralyzing on happiness. I had to fake it most every single day just to make it to the end and throw my exhausted bones onto our tiny cheap couch hanging out with our dogs Zoey and Kona plus our cat Piper.
My husband and I sat down at the start of December in our new home to make a list of all of the great things about 2018. It was so fun to remember THOSE THINGS and write them down! It is never to late to reflect on a period of time and pick out the great stuff within it.
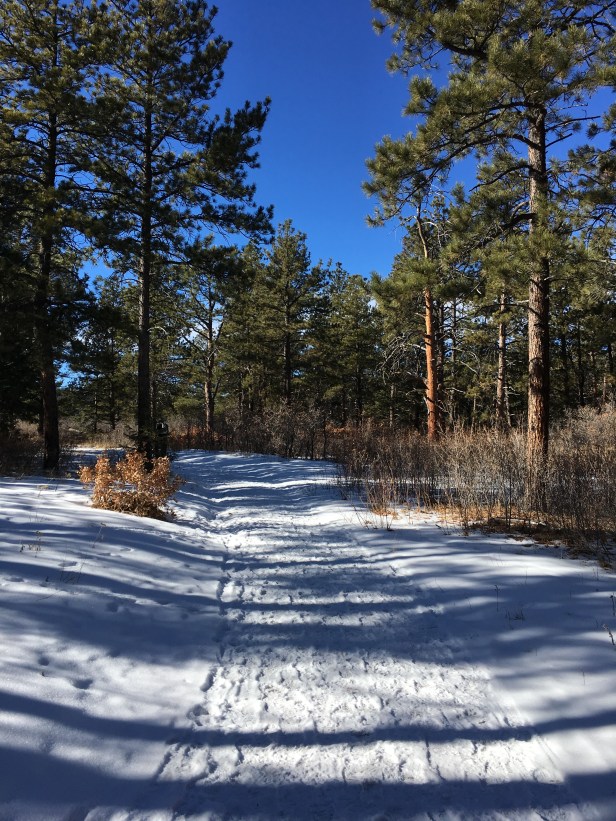
ANYWHO…we’re buzzing along here in freezing cold Colorado learning AGAIN how to start from scratch. By the end of our adventures (if not now) I think we can help someone else map out WHAT NOT TO DO! HA HA!!
Zone where LBs have nested.
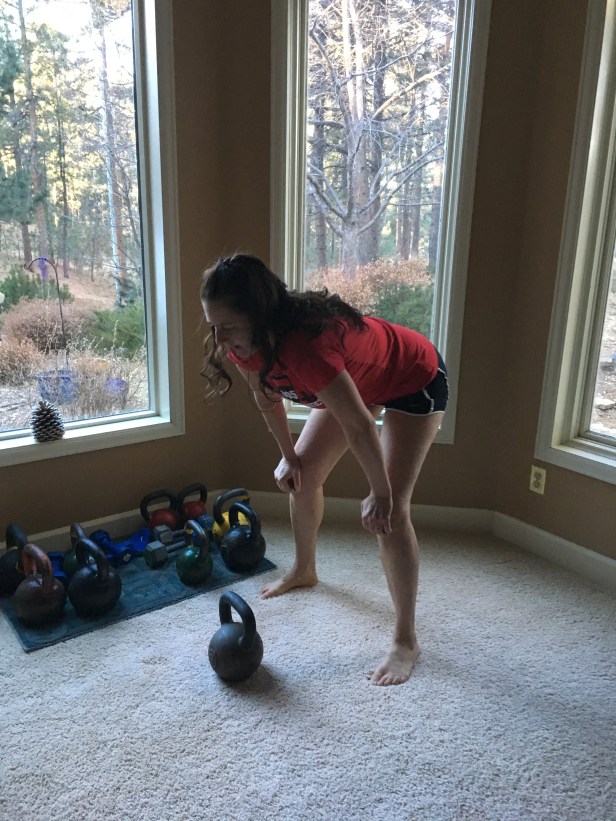
I’ve put on a few LBs, managed to mess up my left hand (which makes is super fun to write, paint, type and use my mouse), last year in September I tore my rotator cuff during one of the grocery store case lot sales followed by a FIVE 12-PACKS of Coke Products/Pepsi Products for $10. This reduced my yoga participation by about 25% so I’ve been working on kettlebell and free weight 30 minute exercises.
I know that 80% of any body change battle starts with my food habits.
Randy and I wrote this baby and used it at our boot camp business for over a decade. It was tweaked and modified…updated and changed…all to make it more effective.
I’m putting a page here for you to download and use if you want to make some changes to any habits you are not happy with.
For me: I want to stick to a healthier food choice plan and get back to drinking the right amount of water…OH AND I WANT TO KEEP EXERCISING despite a -6 degree temperature outside.
Right now I’m staring out my back window as 8 deer are chomping away at whatever they can find. It’s butt ass cold out and in the last two months I’ve watched these deer (must be a family) roam through our backyard. Their fur is darker and the babies are growing up. One boy deer lost one antler (we hunted for it but no dice) so he’s wandering around with ONE antler. It doesn’t seem to be affecting him though and the lady-deer are just as irritated with him trying to insist on some hanky-panky time chasing them all through the trees.
For 2019 I plan to get my feet solid on the ground again.
I have things I want to accomplish. Not really RESOLUTIONS. More like accomplishments that I want to have on my list NEXT December.
OK gotta go.
I hope you download this food journal page if you need help. It’s free from Randy and I.
We are offering our entire food journal in electronic download too, if you are interested. We are pricing it at $12 (not $15). It WILL help you go 6 weeks straight, just like the old days at 805 Boot Camp.
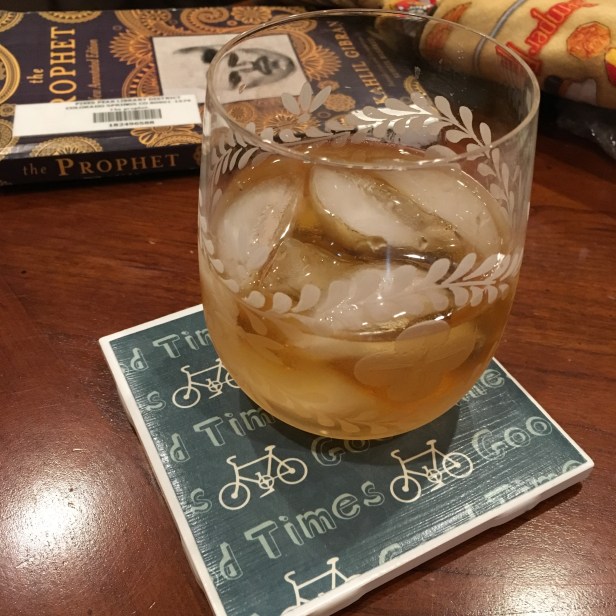
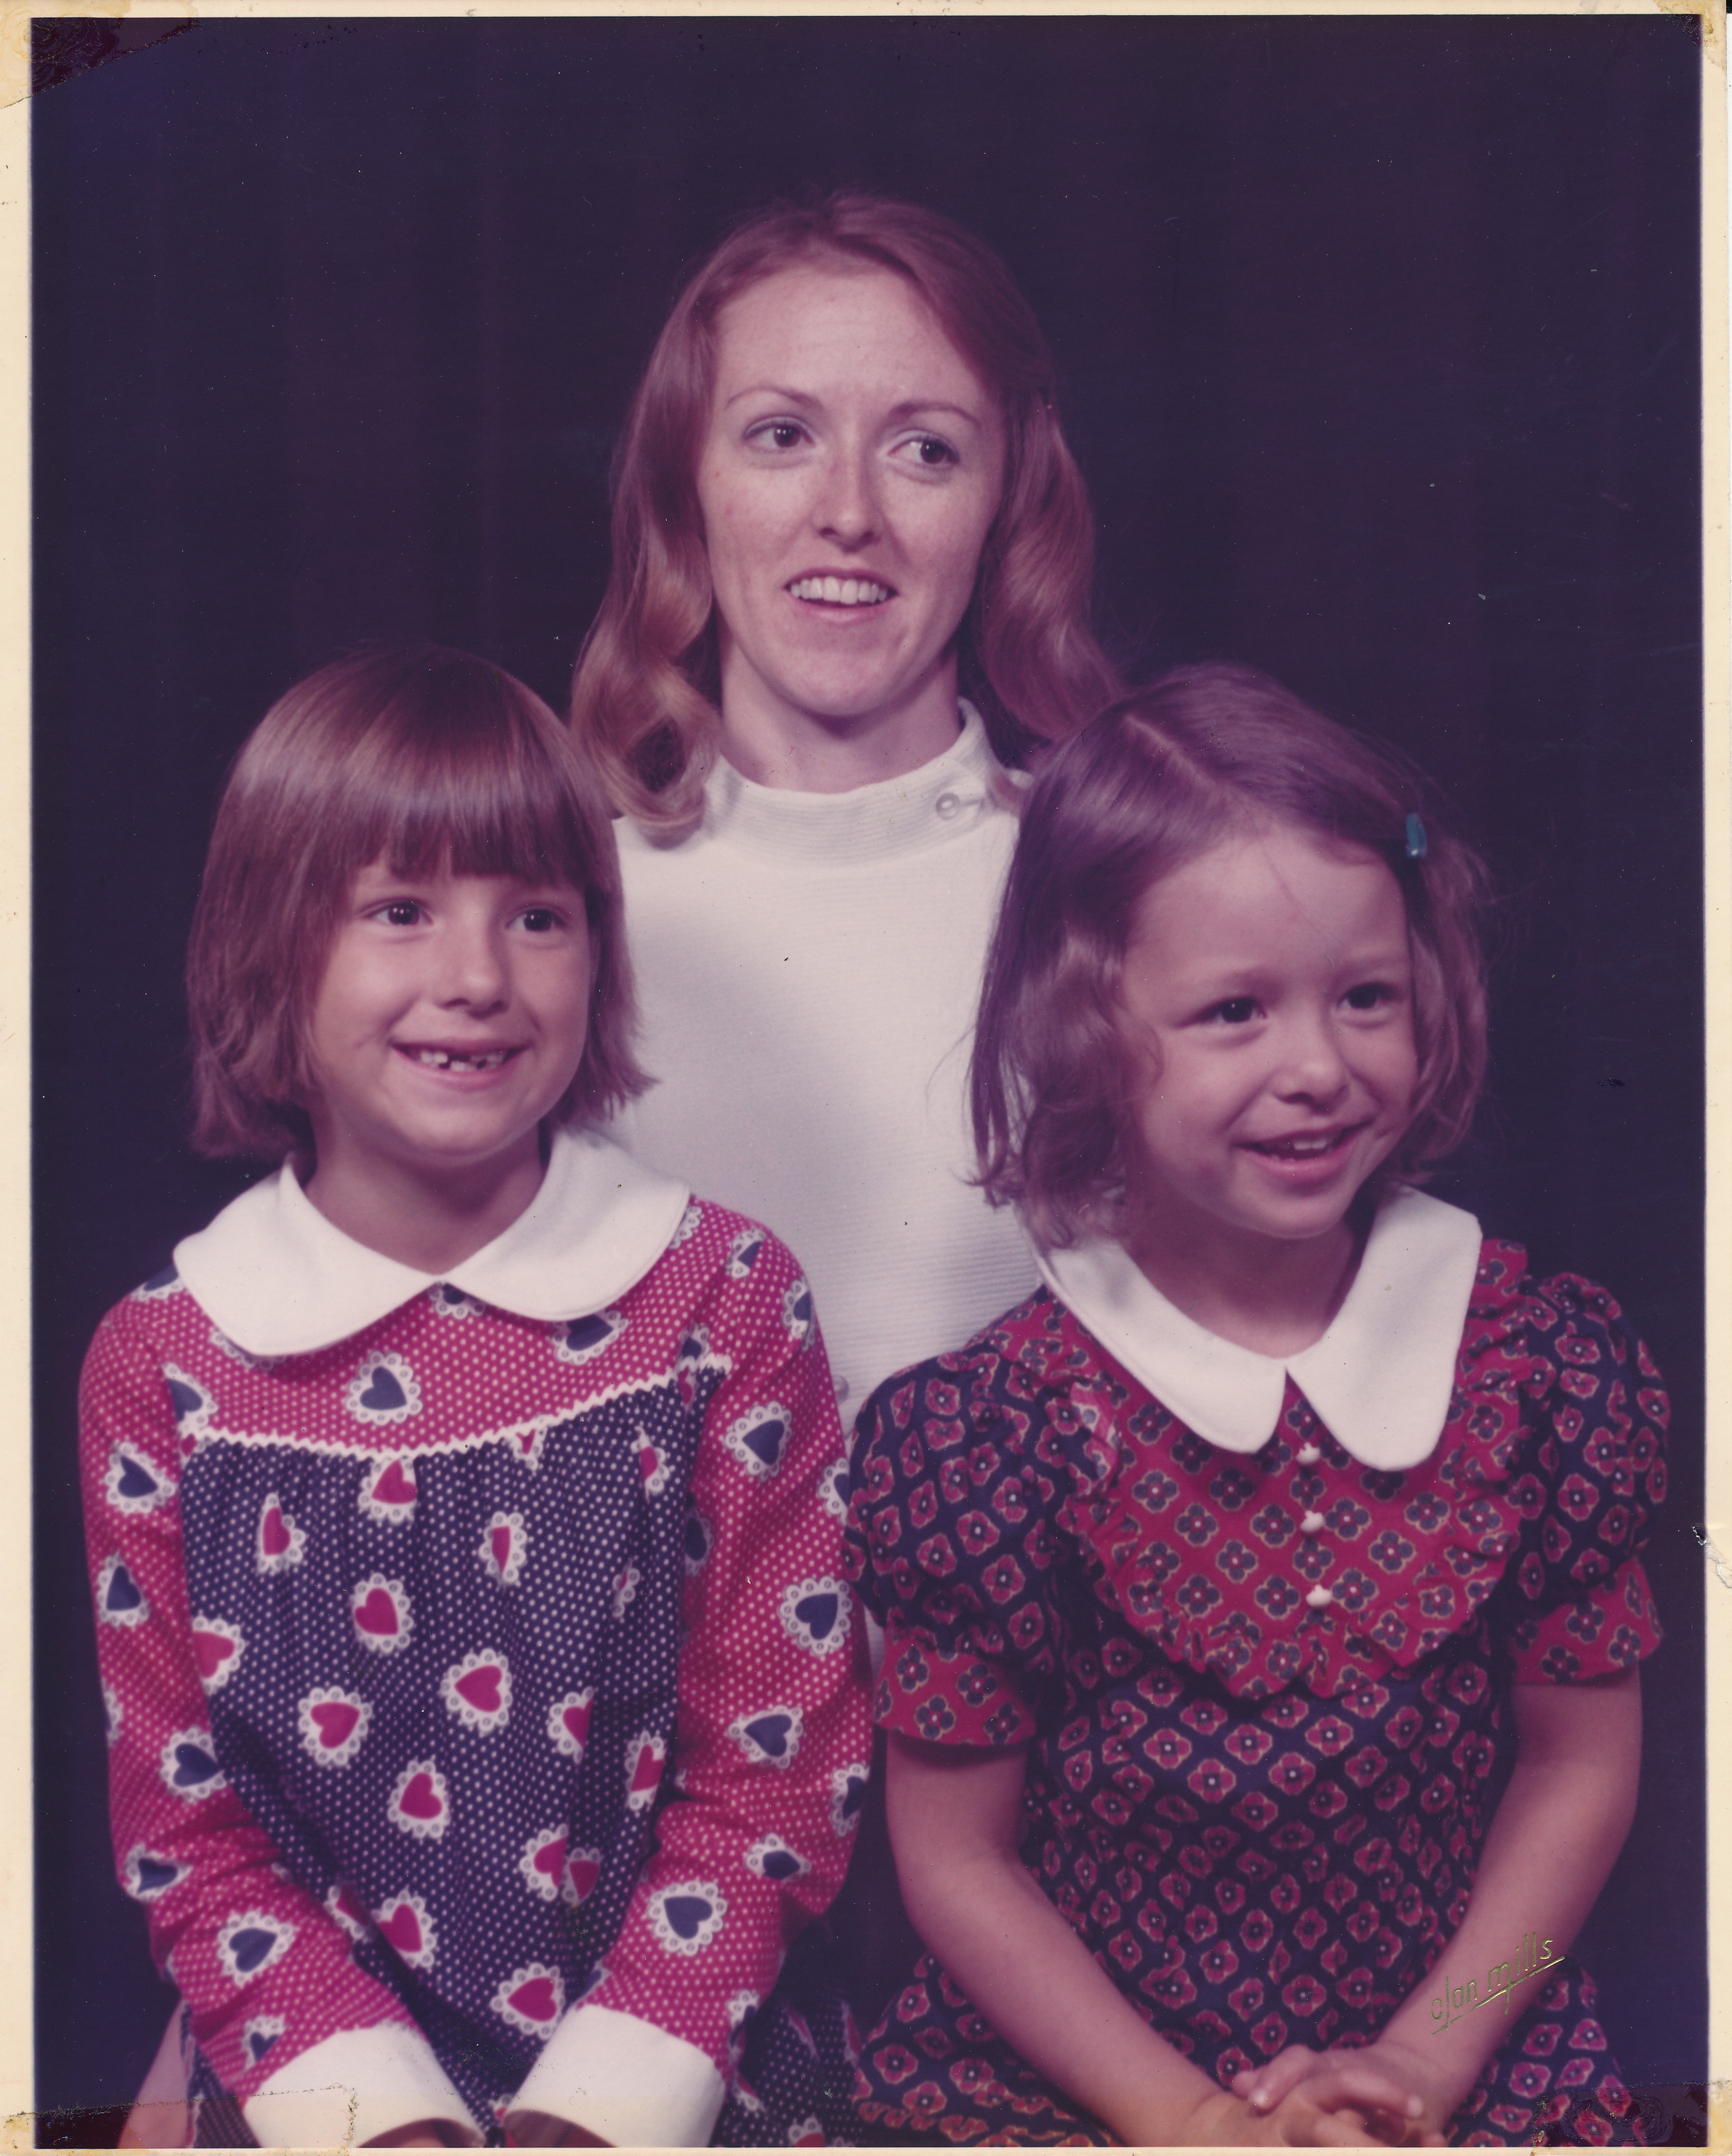
I saw this book for the first time in the 1970’s and began reading it at age 8. Back then my mom was searching for answers and The Prophet (without annotations) was part of our lives as well as a bookshelf of other self-help and religious books.
Reading it then (my mom taught me to read very young) I scanned over the Chapters looking for one that piqued my interest. Every night, at dinner, we would read a meaningful passage before dinner.
It was just my mom, my little sister and myself.
I could not put the thoughts together to give them meaning. They were just words linked together randomly with titles I recognized
Love Family Friendship Time Good and Evil Pain Joy Sorrow
Those were some of them.
Today, 4 decades later, I finished the book understanding more than I ever could.
The annotations at the end of each chapter were very helpful. Gibran wrote plenty of books and it seems mountains of letters to two women, one of them he proposed to and was turned down. The bits and pieces of his life are covered and I appreciated getting an even deeper understanding of how he “thought” or even possibly came up with some of his writings.
His thoughts were epic.
The book was originally published in 1923. The depth of wisdom he gives is life changing if you really allow it.
In today’s world we are wrapped up in instant gratification and this book forces you to slow down and absorb the meaning of each word, sentence, page and chapter.
If you are searching for the meaning to basic questions, Kahlil Gibran might help you find them.
This is a book to own, not borrow.
To be able to underline and highlight what has impact on you and your life and thoughts.
Since none of us are the same it will have different meaning.
I also think you have to have an open mind before reading this. Willing to see a different perspective.
To me, we are all The Prophet in our lives. We have answers to the same questions the villagers had of this man that stayed for 12 years.
We have people in our lives that want to know our thoughts on these topics before we leave.
I know I wish I knew my mother’s explanation of LOVE (to begin with).
So much life just distracts you. For me, sitting as quietly as possible in a room without anyone else and zero music playing…only dogs licking themselves off and on bothering me… it took me an HOUR.
I wanted to use what was IN my cupboards, fridge and freezer.
Here’s what I came up with.
Week 1 Plan
I ran it by Randy to see if he wanted to make any changes. We had eggs so he decided to switch out breakfasts a few times.
I created my grocery shopping list and because I know what/where items are in the grocery store I organized it to be super efficient in that task. This is a bonus as a Vegan Chef – I know where the odd things are.
HERE IS MY PLAN FOR THE PAST TWO WEEKS IN PDF FORM
Life began to happen and we almost fell off within 2 days.
I began baking and creating the dishes that we would have. The house smelled great. This was only possible because I am not working right now. REALITY CHECK.
Randy began to look for my beat up planning paper to ask what we’d be having for dinner which inspired me to stick to the plan.
Our grocery shopping for WEEK 1 was about $68. Again, I had resources in my kitchen but I was pretty stoked to only spend that much for a full week of meals ALL HOME COOKED, packed with flavor, low on salt and always enough for LEFTOVERS!
I also planned out my exercise and the pet’s meals (we are all dining on the ritz). The $68 INCLUDED their 7 days, 2 meals a day.
WHAT I LEARNED
You need TIME to plan and execute a meal plan.
It is important to have a dessert (in our house). You can make them with less junk in them – with lots of flavors.
It is cheaper to plan meals and cook.
Once we got rolling it was easier. It’s not EASY yet (and I’m going to be working again…which means a lot of cooking on days off). I’ve got Week 2 planned out and I’m excited to make that chocolate cake (vegan of course).
Week 2: WISH ME LUCK
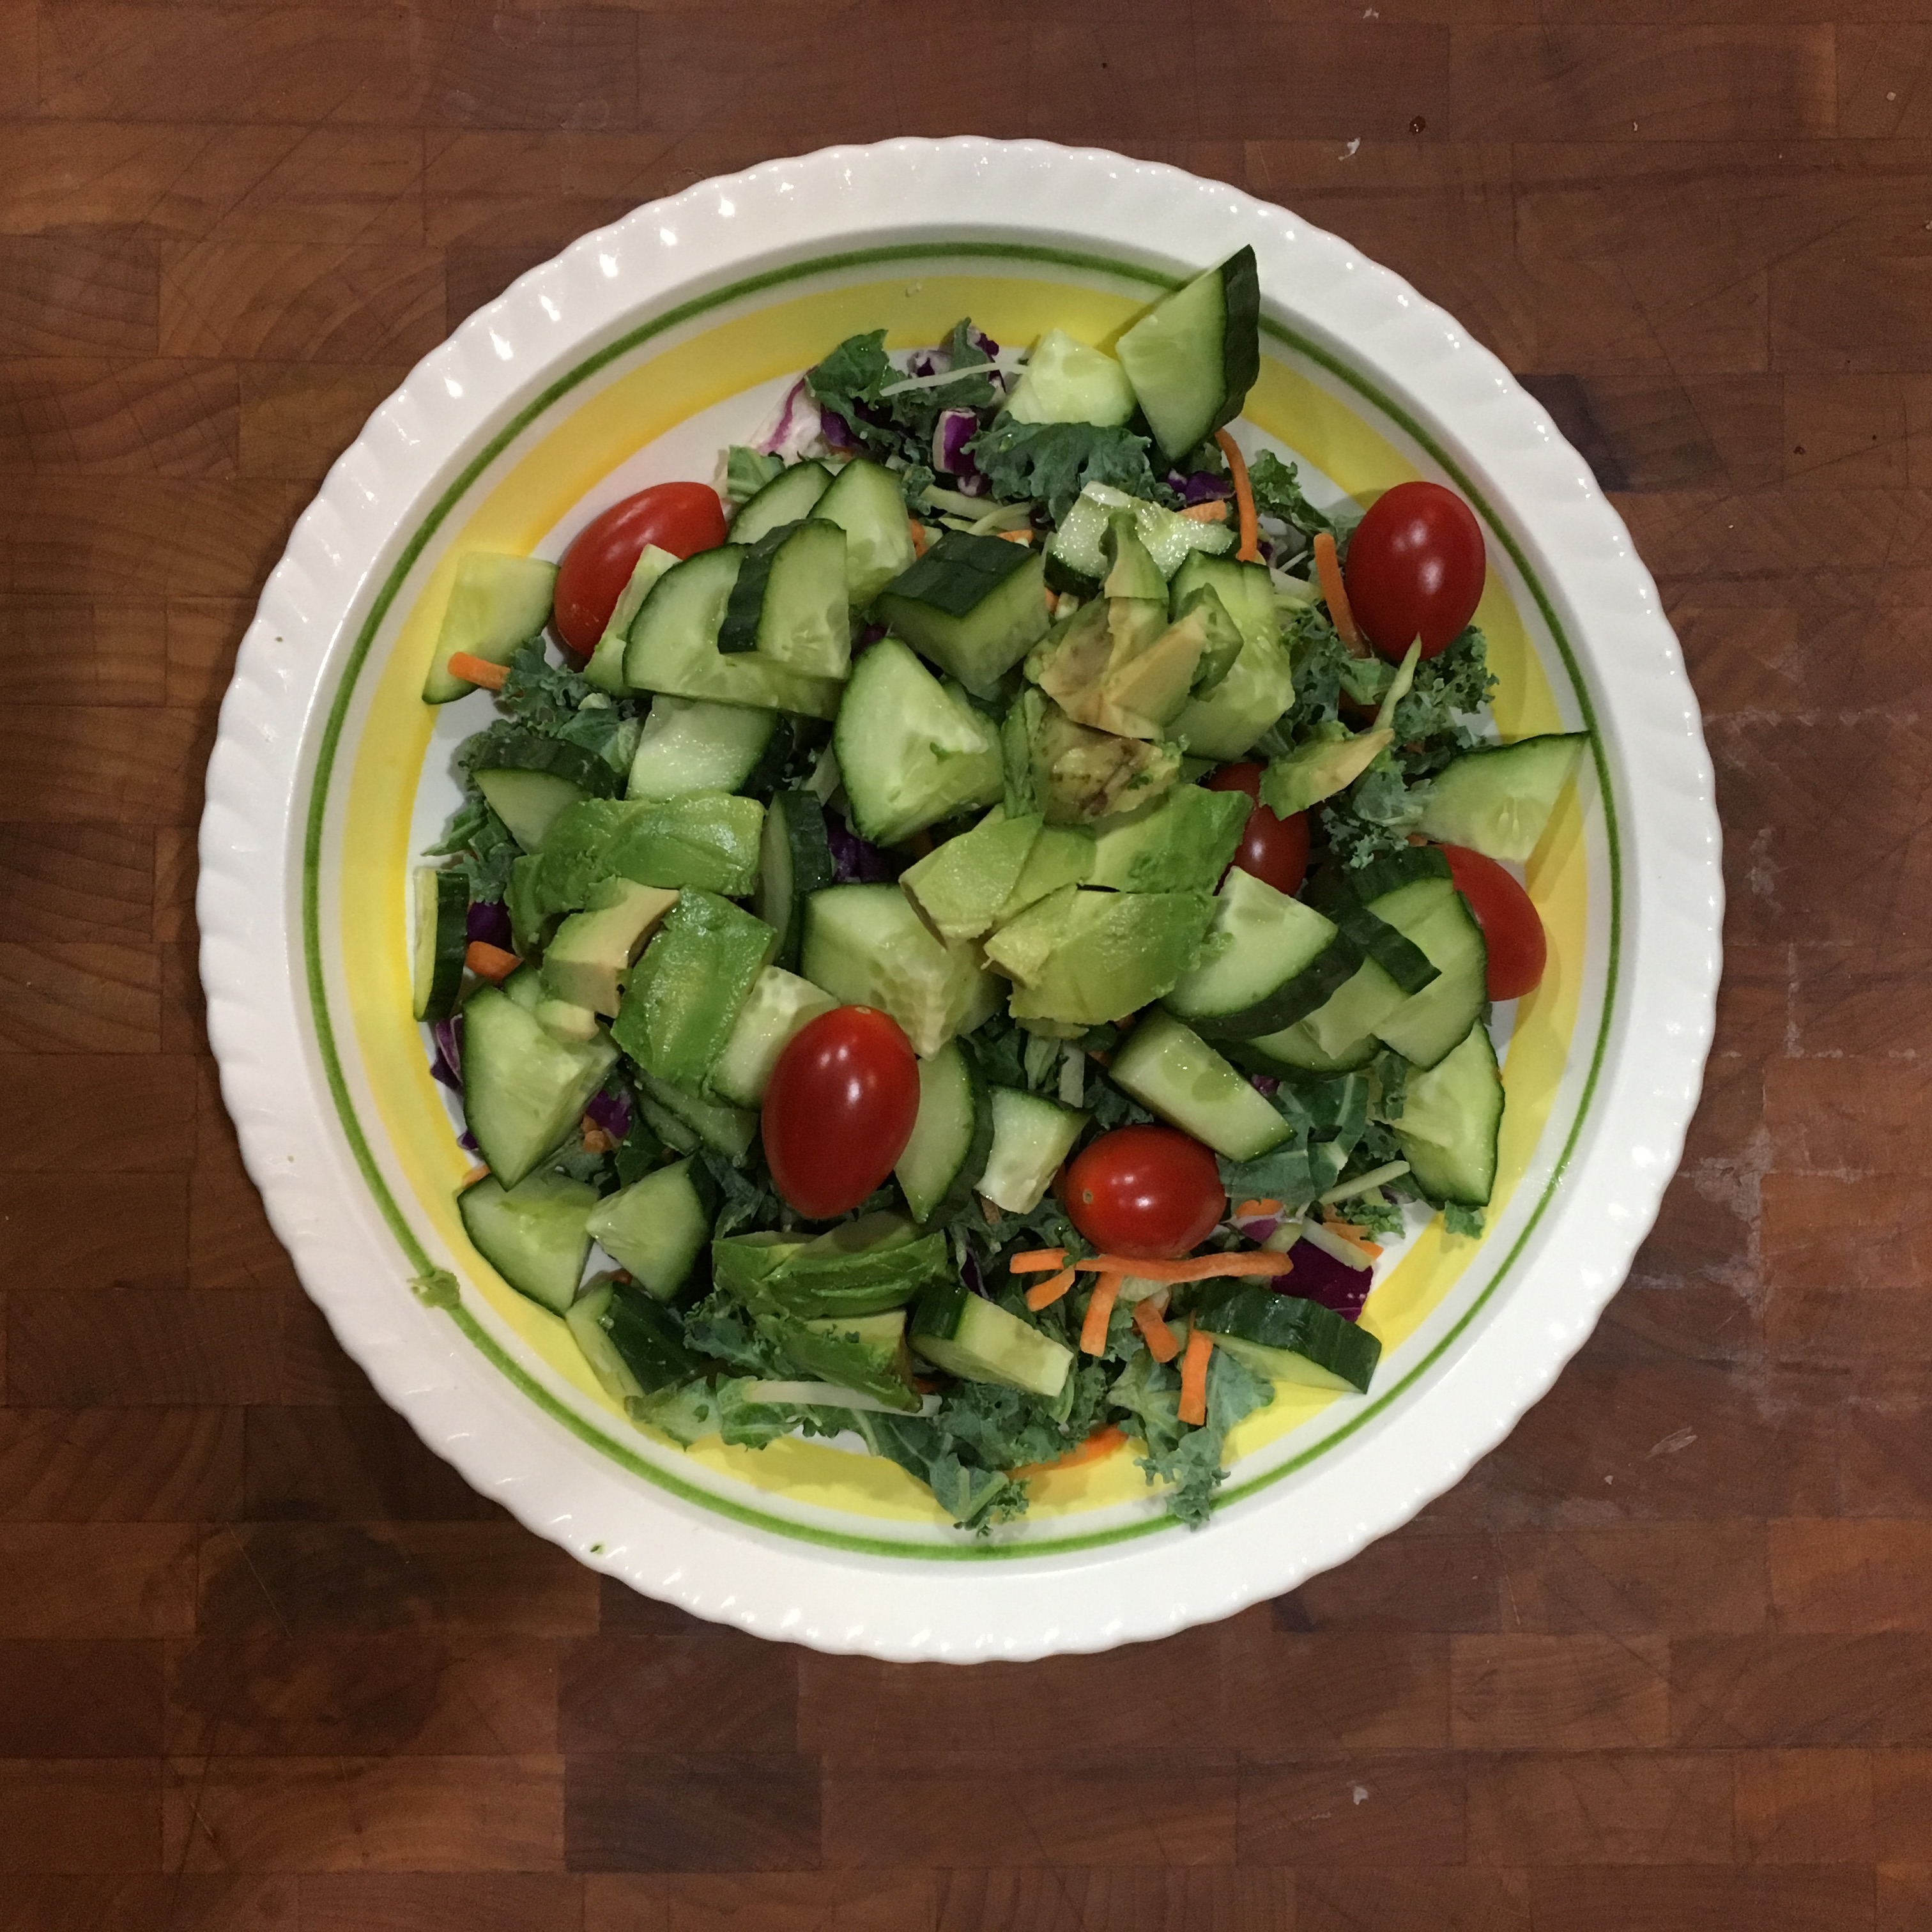
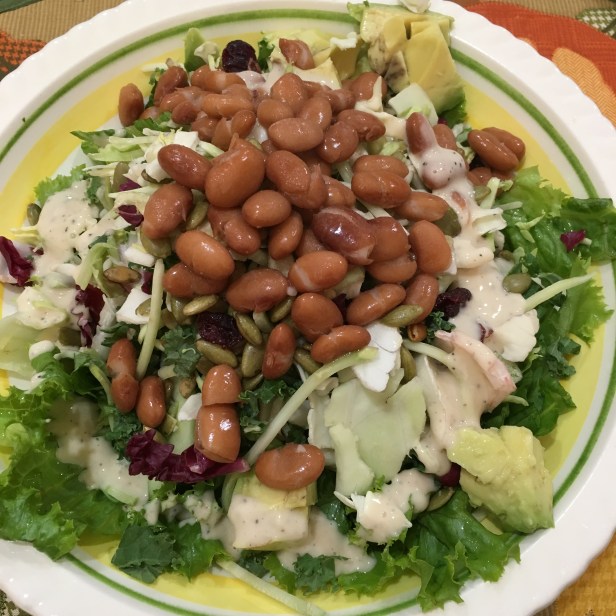
Green Salad or Wrap
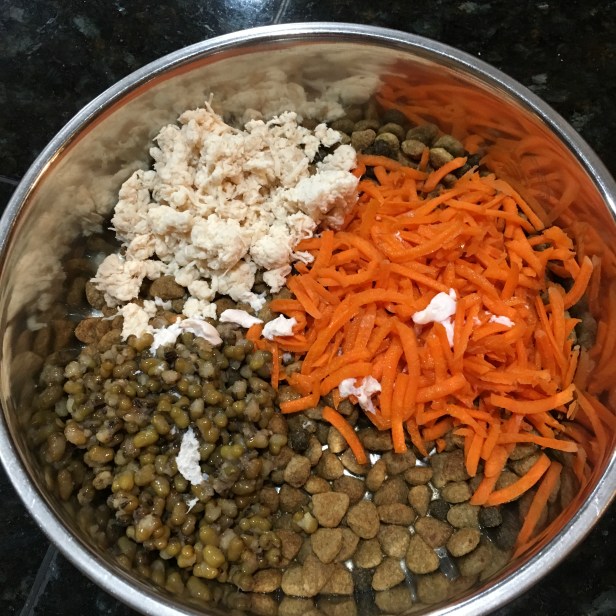
Kona’s yummy dinner.
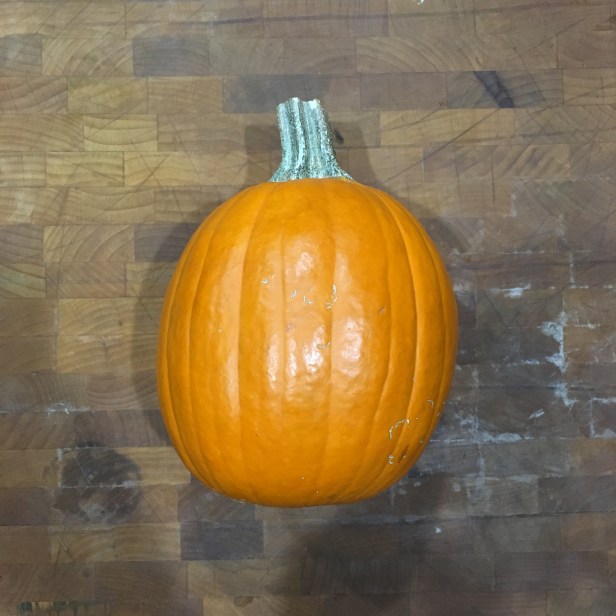
Baked this little guy (cost .25)
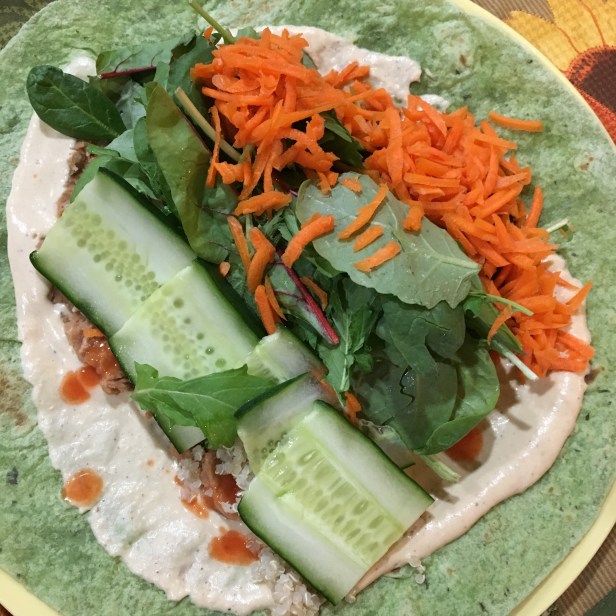
Lunch wrap.
Spaghetti squash with red cabbage black bean slaw.
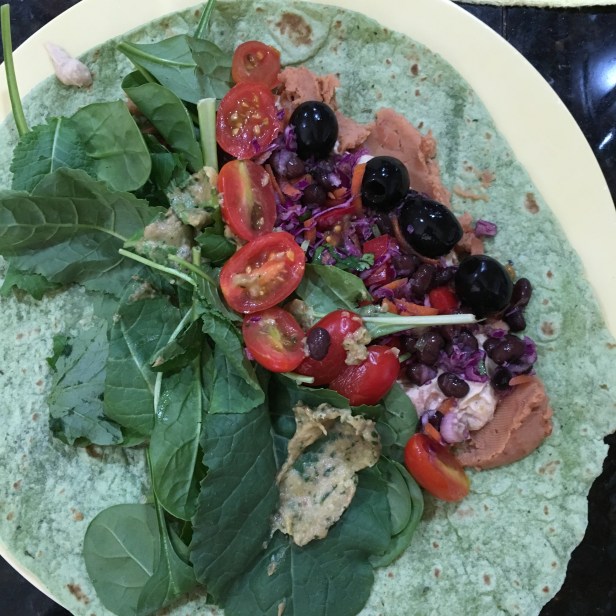
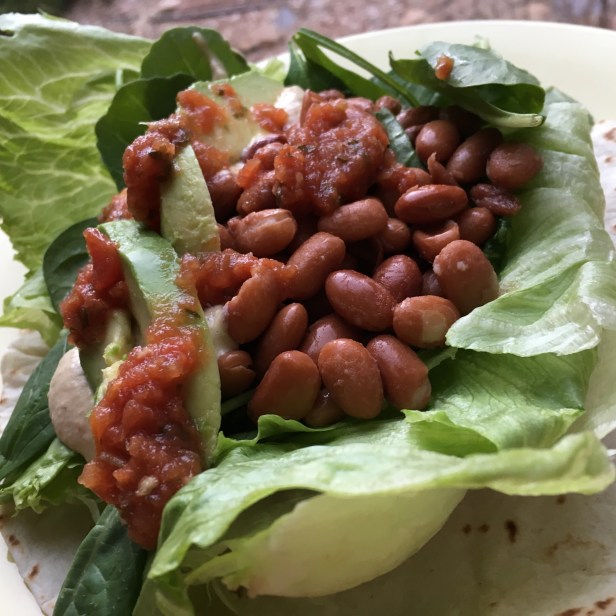
Wrap: hummus and refried beans together are KILLER with Dave’s Hot Sauce
Red Cabbage Black Bean Slaw made a delish wrap!
The beginning of my veggie packed southwestern seasoned chili.
Cucumbers are excellent in wraps.
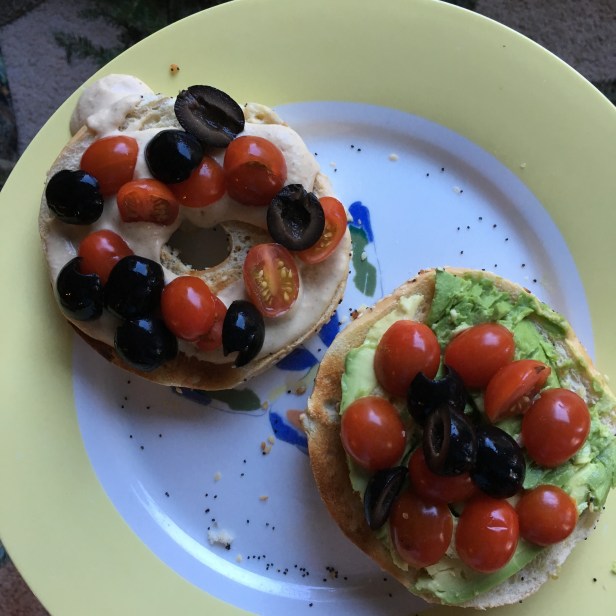
Bagel with hummus and avocado, topped with tomato and black olives (YUM)
Another Kona meal.
Lettuce wraps.
Apple Pie – spent .99 on a giant bag of mixed beat up apples. Added chia and vegan butter. We have them for Week 2 snacks as “apple pie”. Low sugar and no salt.
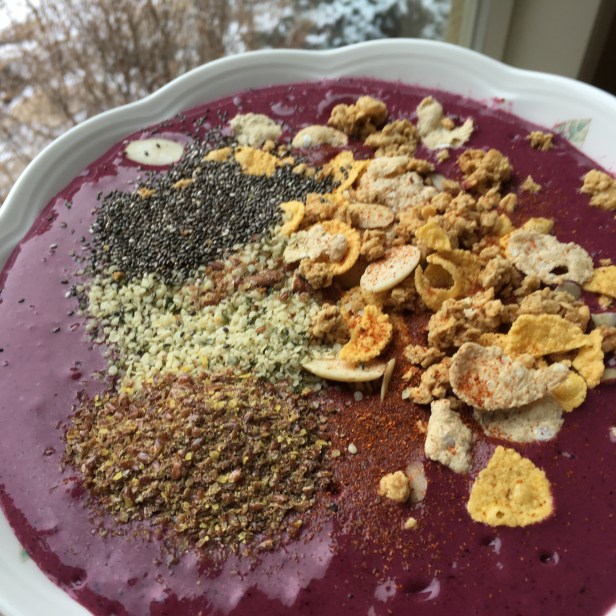
Buzz Bowl. Cayenne pepper kicks this sweet frozen fruit puree (too much liquid). Topped with chia, hemp, flax and granola. Licked bowl it was so good.
I know this because of how much we have been through TOGETHER and that’s when you discover the strengths within each other. If you know both of us (since we got married) you’ve seen that part of our life.
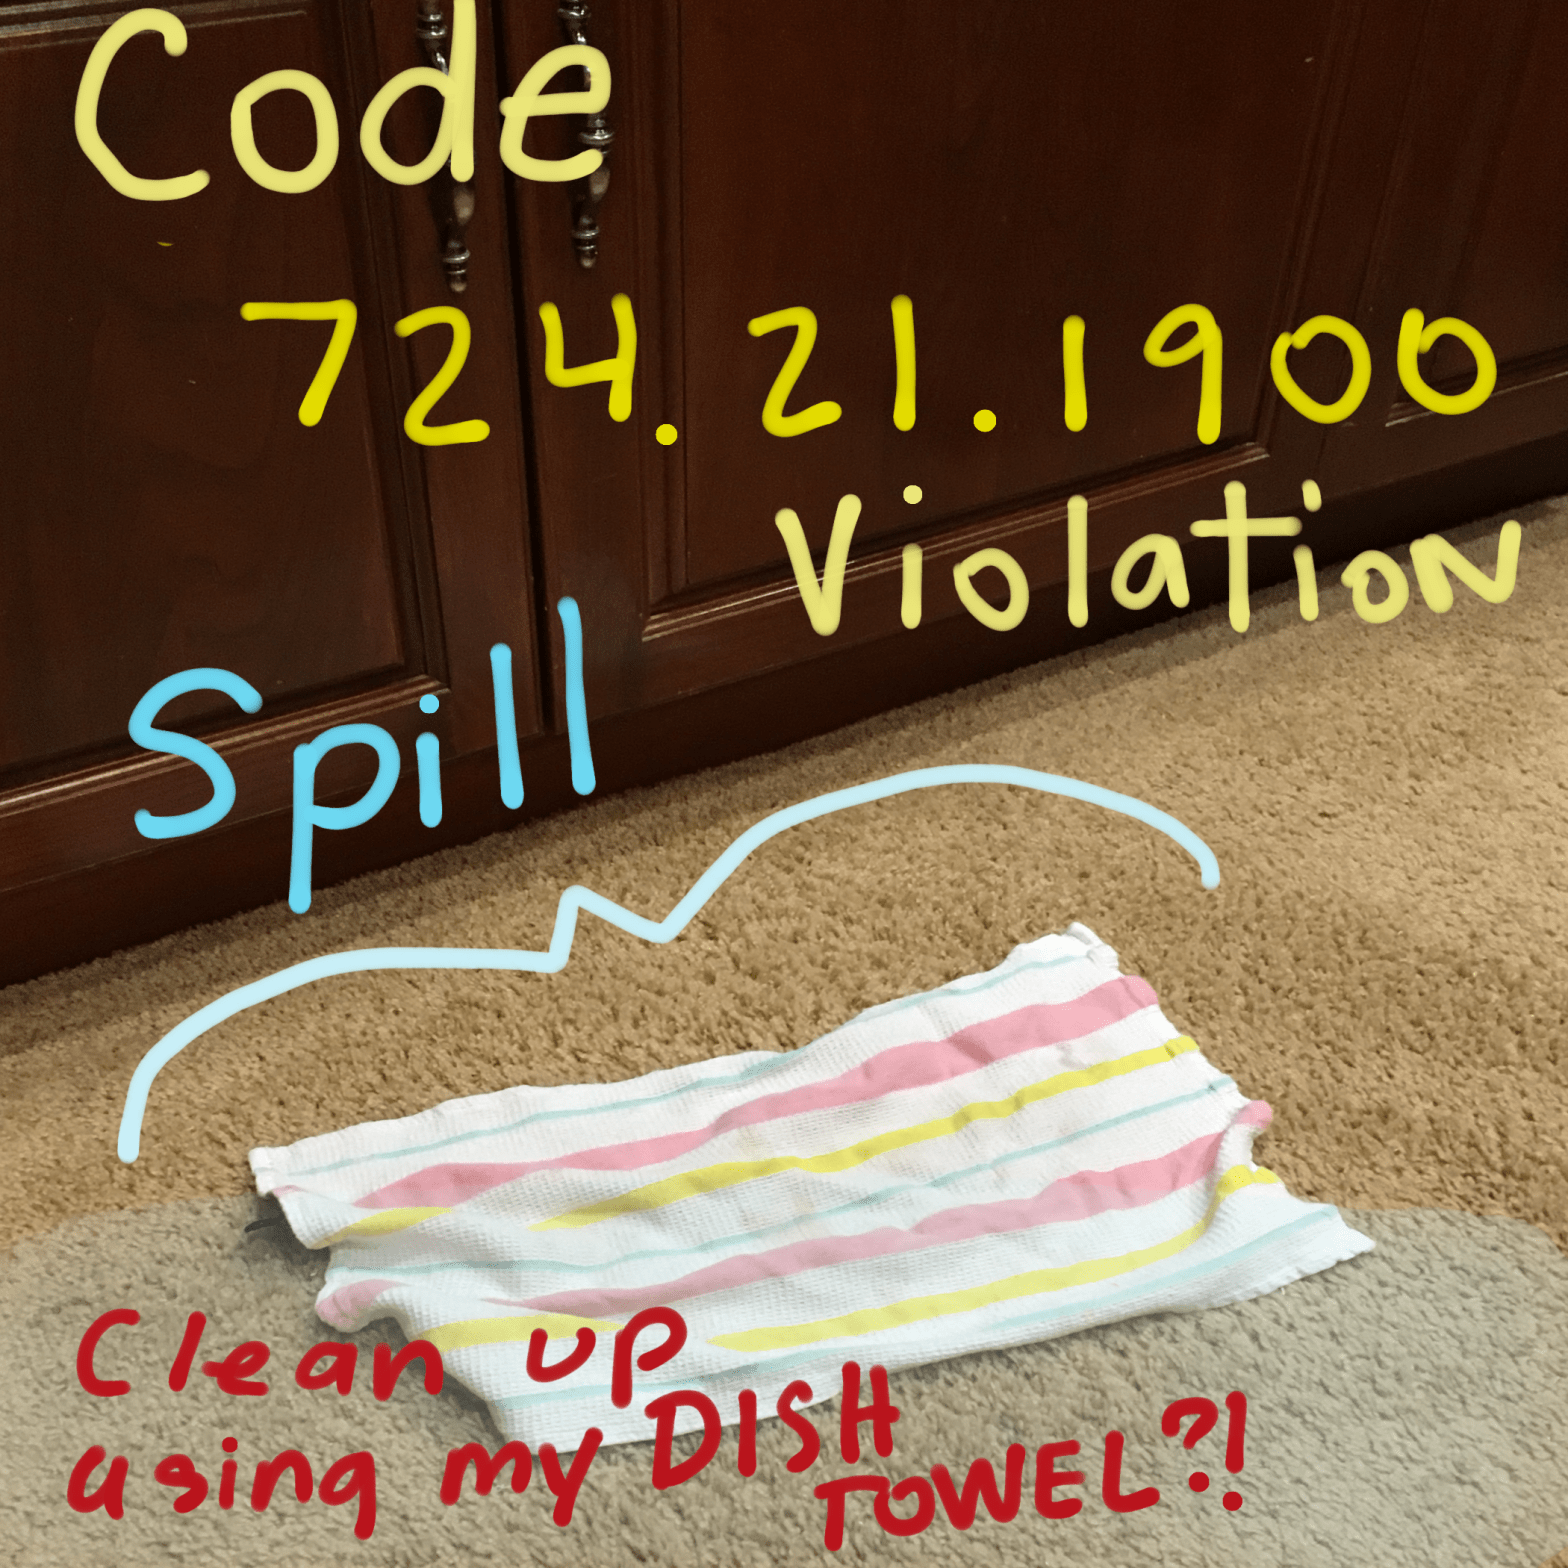
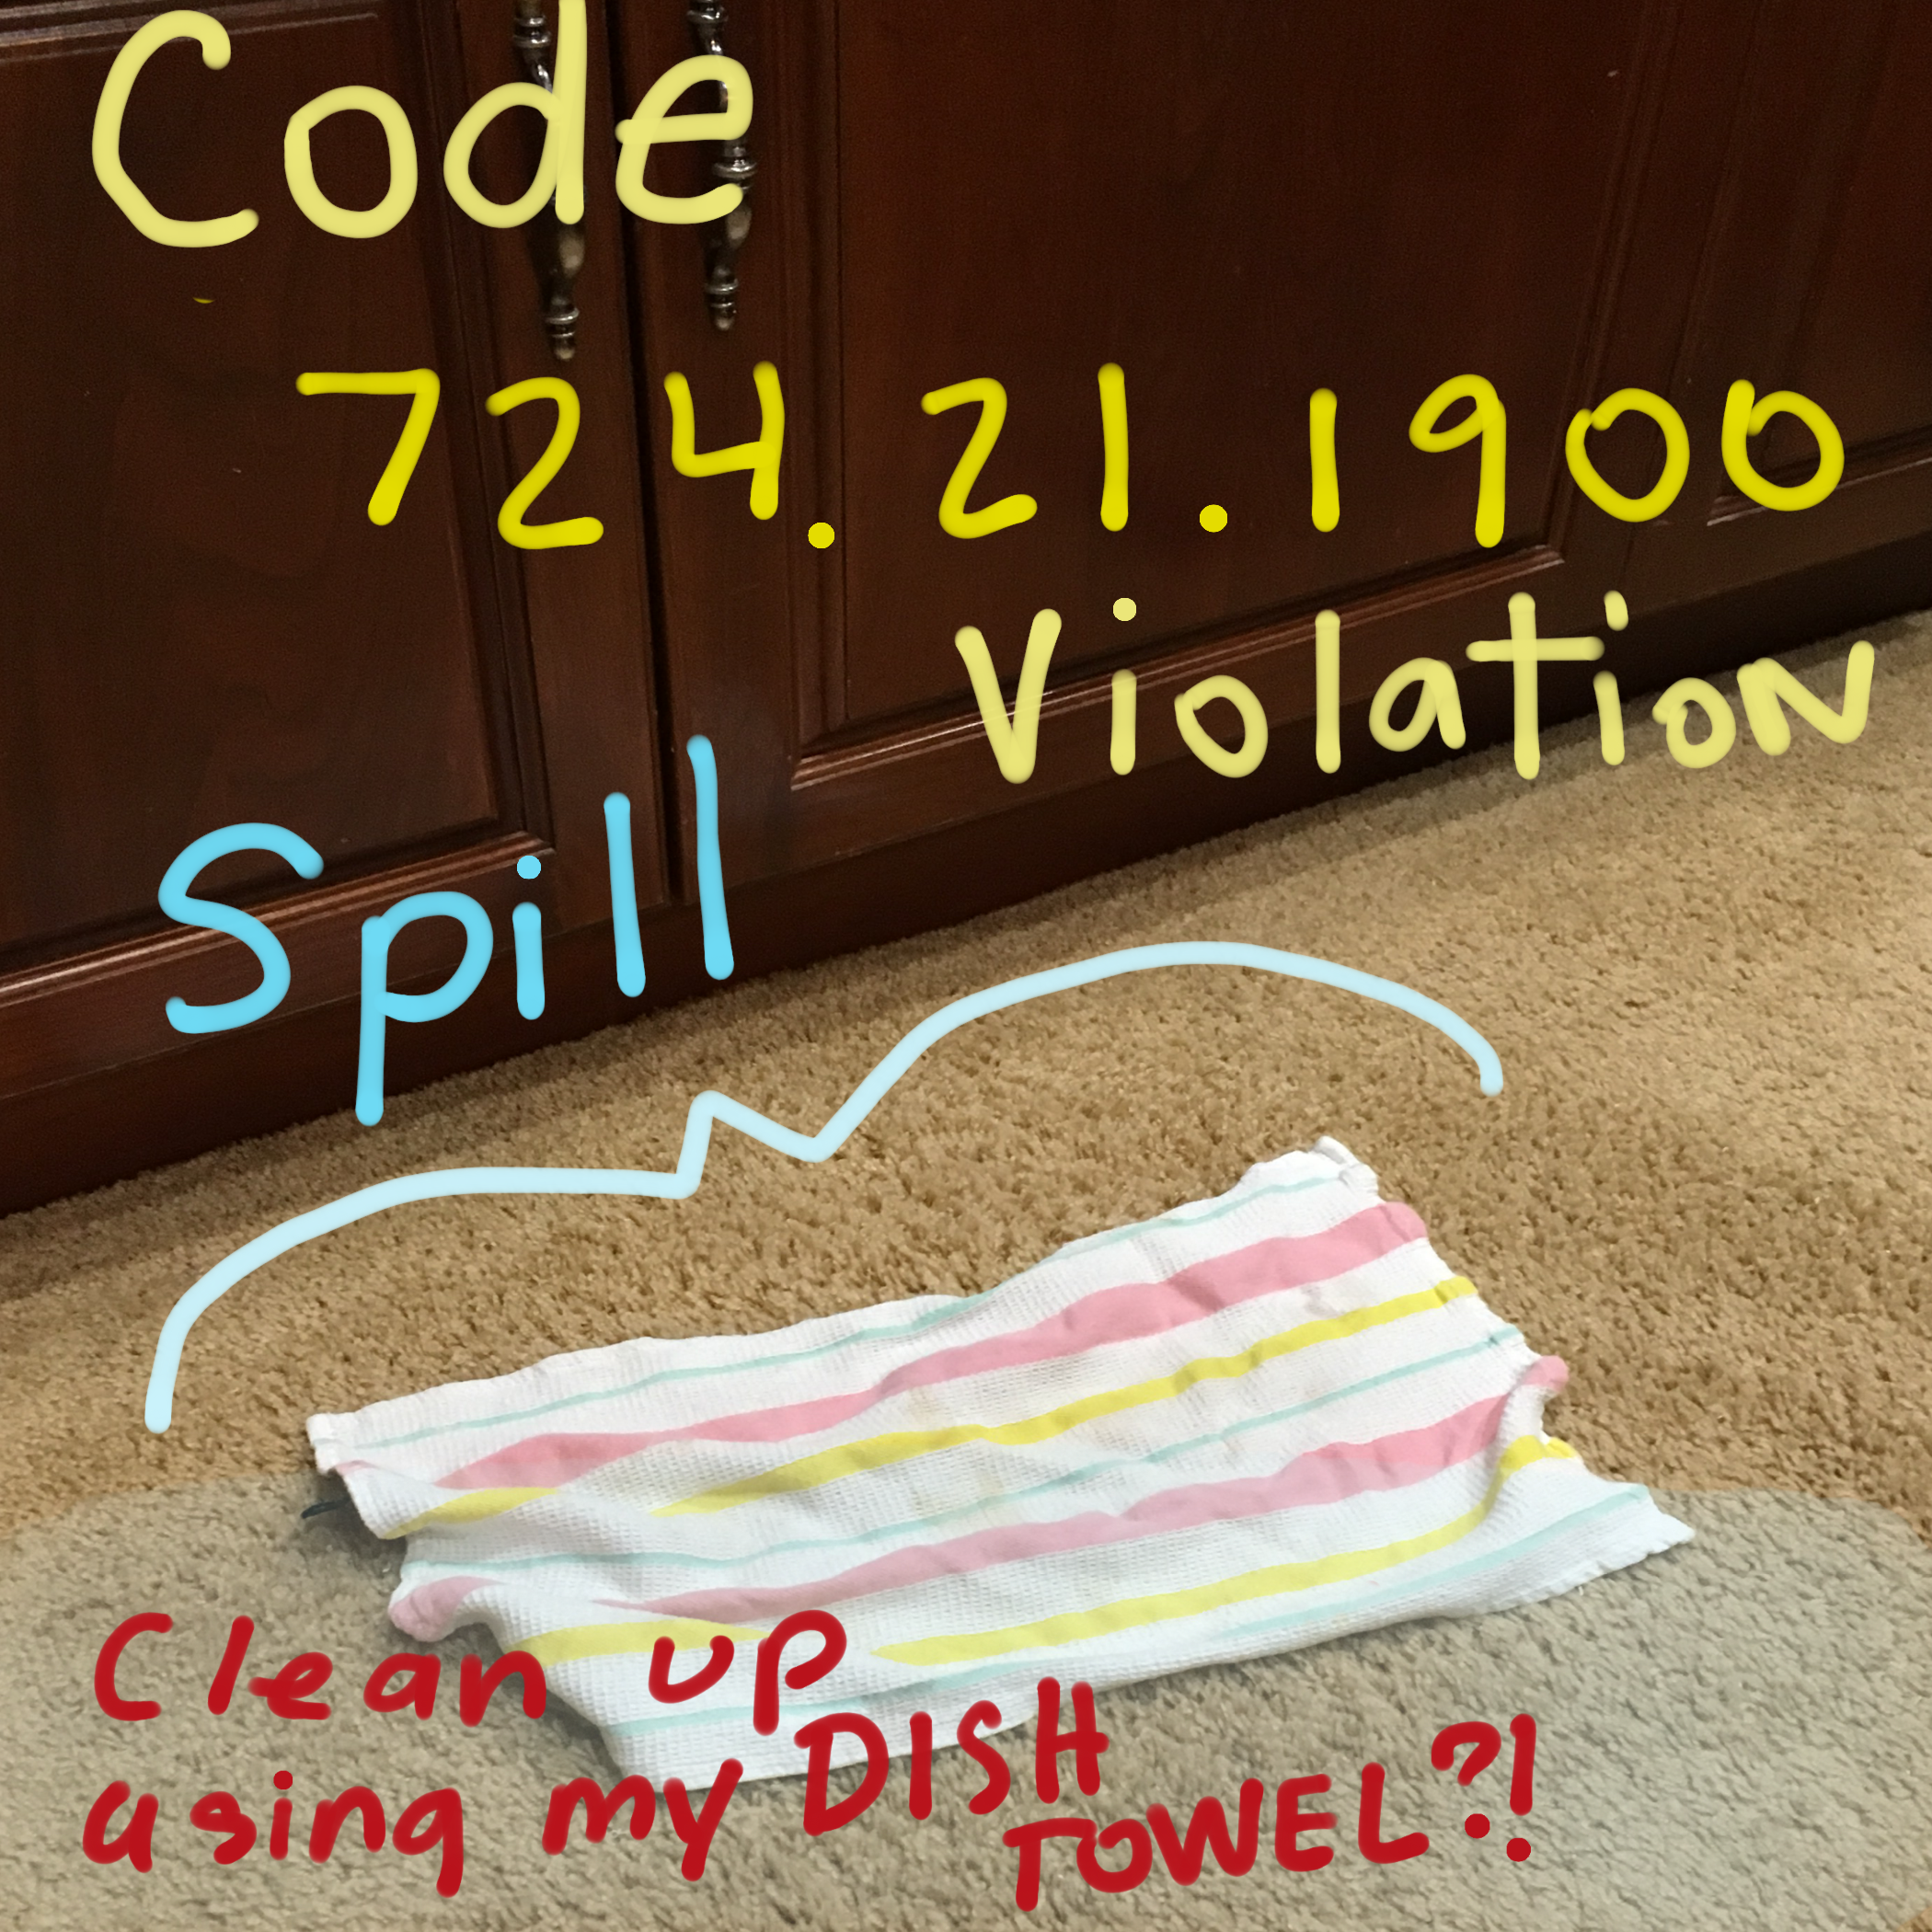
Before that we learned habits that we “bring to the table” on a regular basis. This one Randy brought is a REGULAR: using the clean dish drying towels to clean up spills on the floor.
This REALLY happened. Like 5 minutes before I sat down. I just laugh now (and plan when I’ll be using the family finances to purchase a better towel to replace the one that has been used to clean up anything other than drying a dish…THAT I HAVE SEEN.) Only one person on earth knows which towels have been used for anything other than drying a dish.
We have pared our stuff down to 1 1/2 10×6 U-Haul Trailers! Can you imagine that?
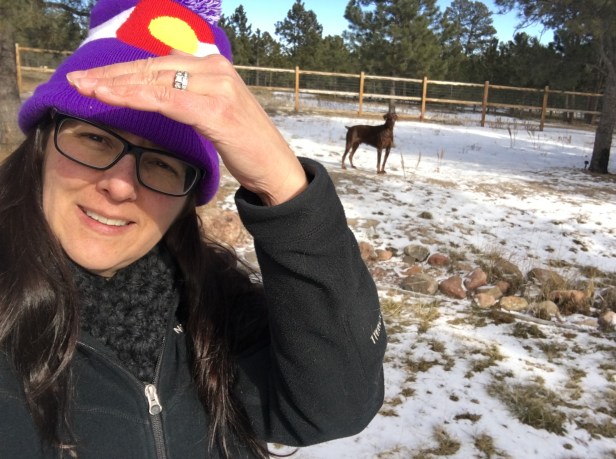
We have moved to a new place in Colorado and today it is 27 degrees outside as I walked our dogs and passed out my new Pet Care Service cards door to door.
Did you know I opened a Pet Care Service!? My sister helped me! A blog reader helped me! My amazing Husband Unit helped me!
Now to get some new clients here in my new town that I am LOVING!
🙂 Wish me luck before I freeze and wish Randy luck too (maybe he needs CLEANING RAGS from Santa this year).
SOCIAL MEDIA
I think it would be wise to include DO NOT EVER EVER USE MY DISH TOWELS FOR CLEANING UP SPILLS ANYWHERE EVER ON EARTH to wedding vows.
.
Also I would include NEVER EVER USE MY WOODEN SPOONS FOR STIRRING PAINT.
.
I think it would help a marriage. 🙂